
Inside a Full Roof Replacement: What Sarasota Homeowners Should Expect
Getting a new roof is a big deal. It's disruptive, it's expensive, and if you've never been through it before, it can feel overwhelming. We get that.
That's why we believe in transparency. Here's an honest, step-by-step look at what a full roof replacement looks like — with real drone photos from actual Premium Roofing projects in Sarasota.
Step 1: Inspection & Estimate
Every project starts with a thorough roof inspection. We assess the current condition, identify any structural concerns, measure the roof area, and discuss your material options. You'll receive a detailed written estimate — no surprises, no hidden fees.
Step 2: Material Selection
Once you've decided to move forward, we help you choose the right material for your home and budget. Tile, metal, and shingle each have distinct advantages depending on your property type, location, and aesthetic preferences.
Step 3: Tear-Off Day
This is the most dramatic part of the process. The existing roofing material is stripped down to the deck, debris is loaded into dumpsters, and the plywood decking is inspected for damage. Any rotted or soft sections are replaced before we move forward.
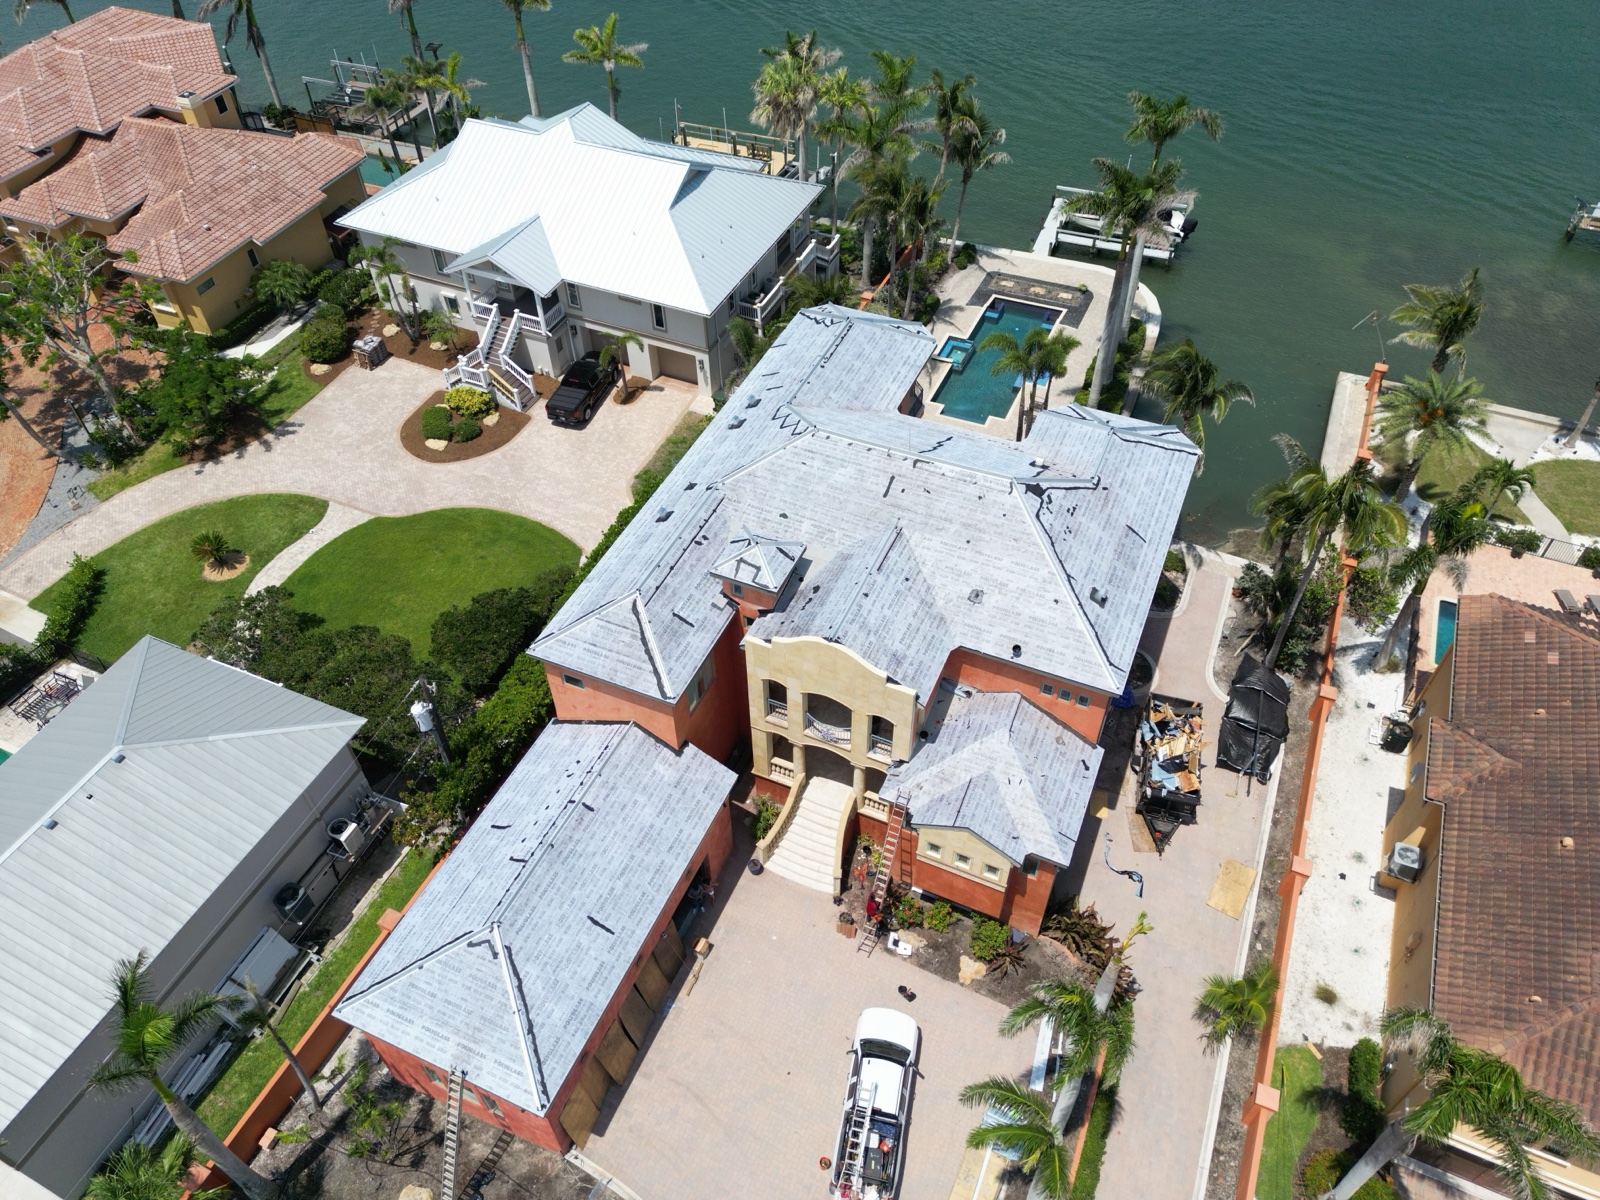
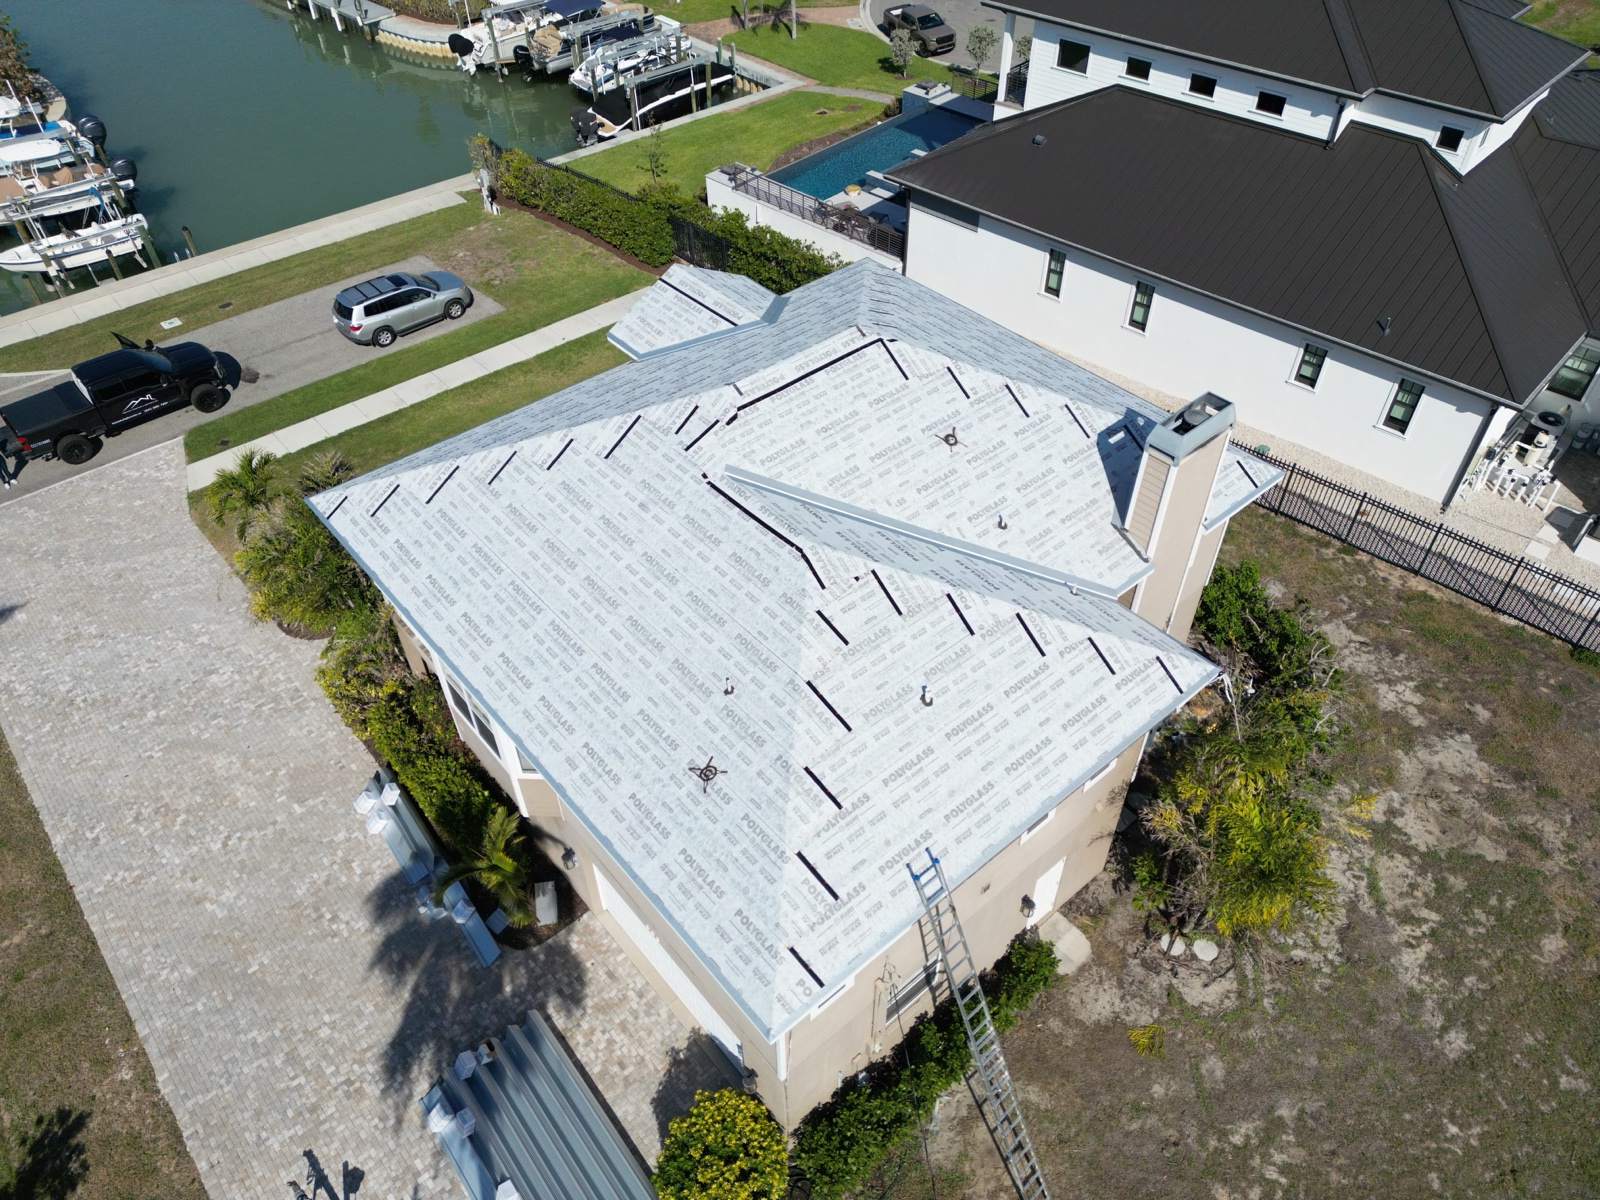
Step 4: Underlayment & Waterproofing
With the deck repaired, we install the underlayment system — your primary defense against water infiltration. For tile roofs, we use peel-and-stick or high-grade synthetic underlayment. This layer is critical and often underappreciated.
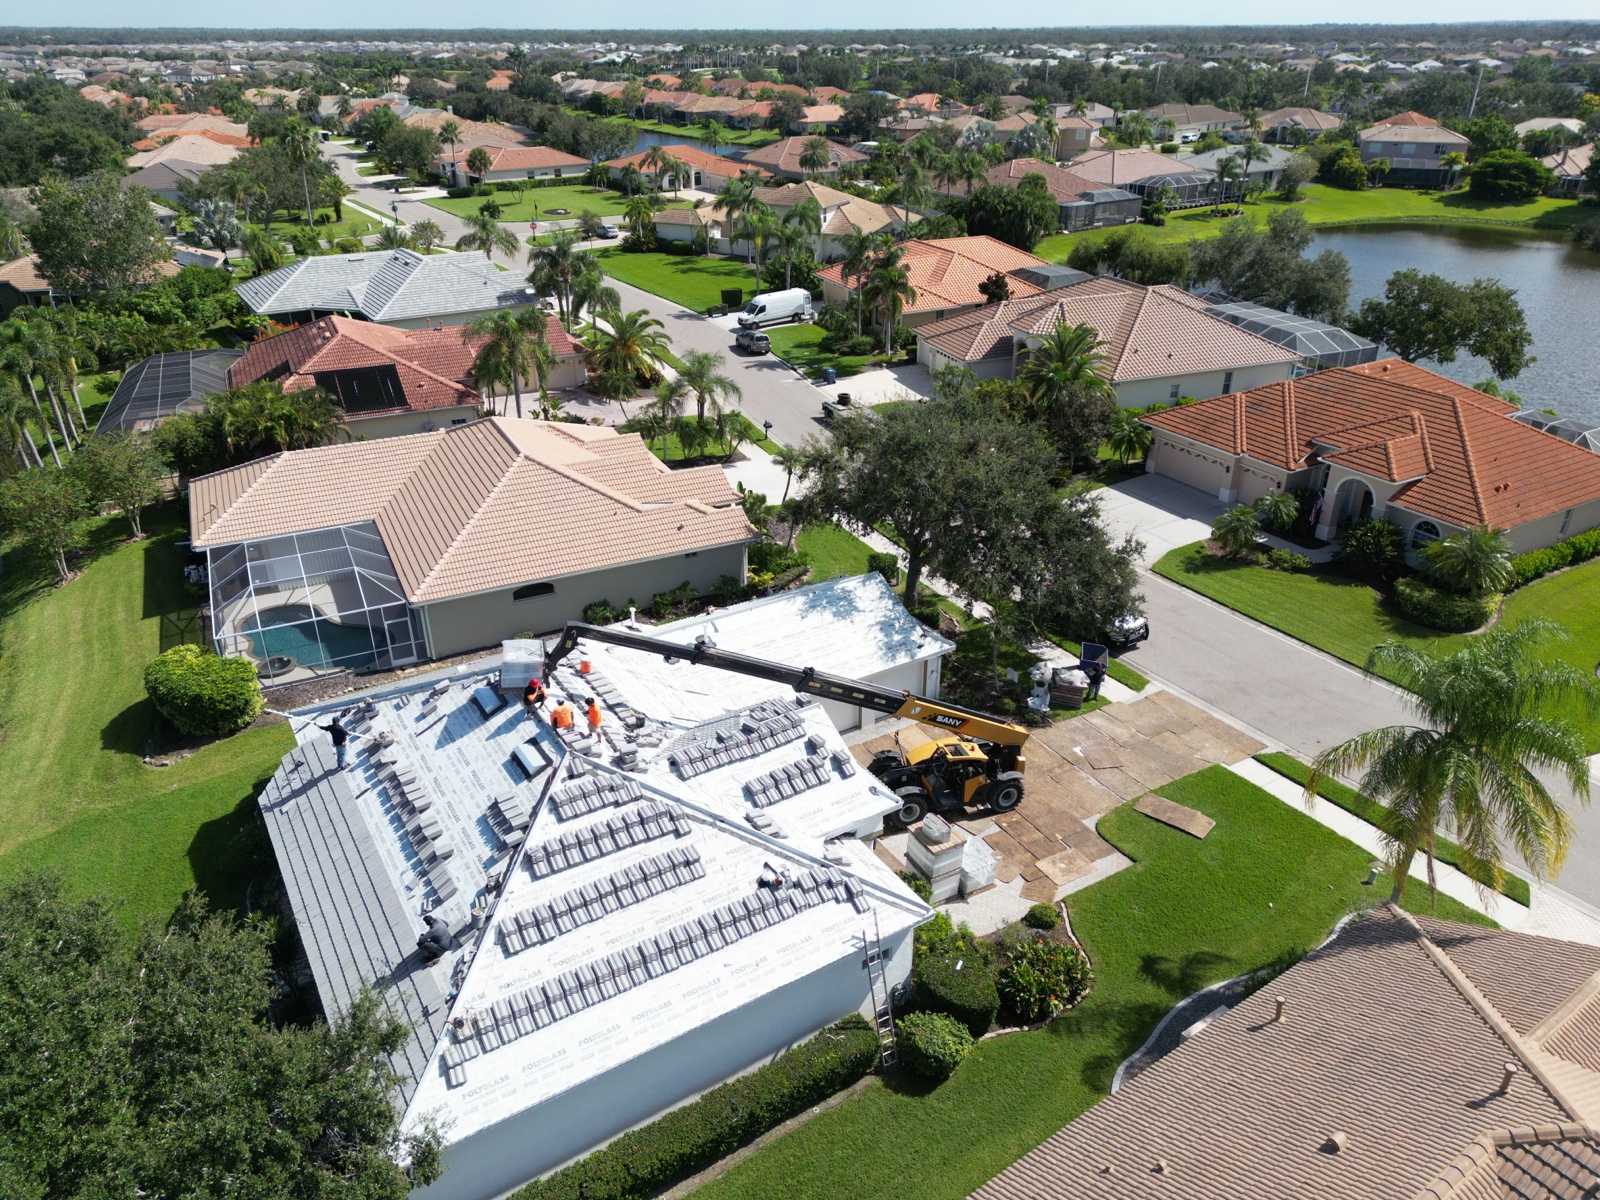
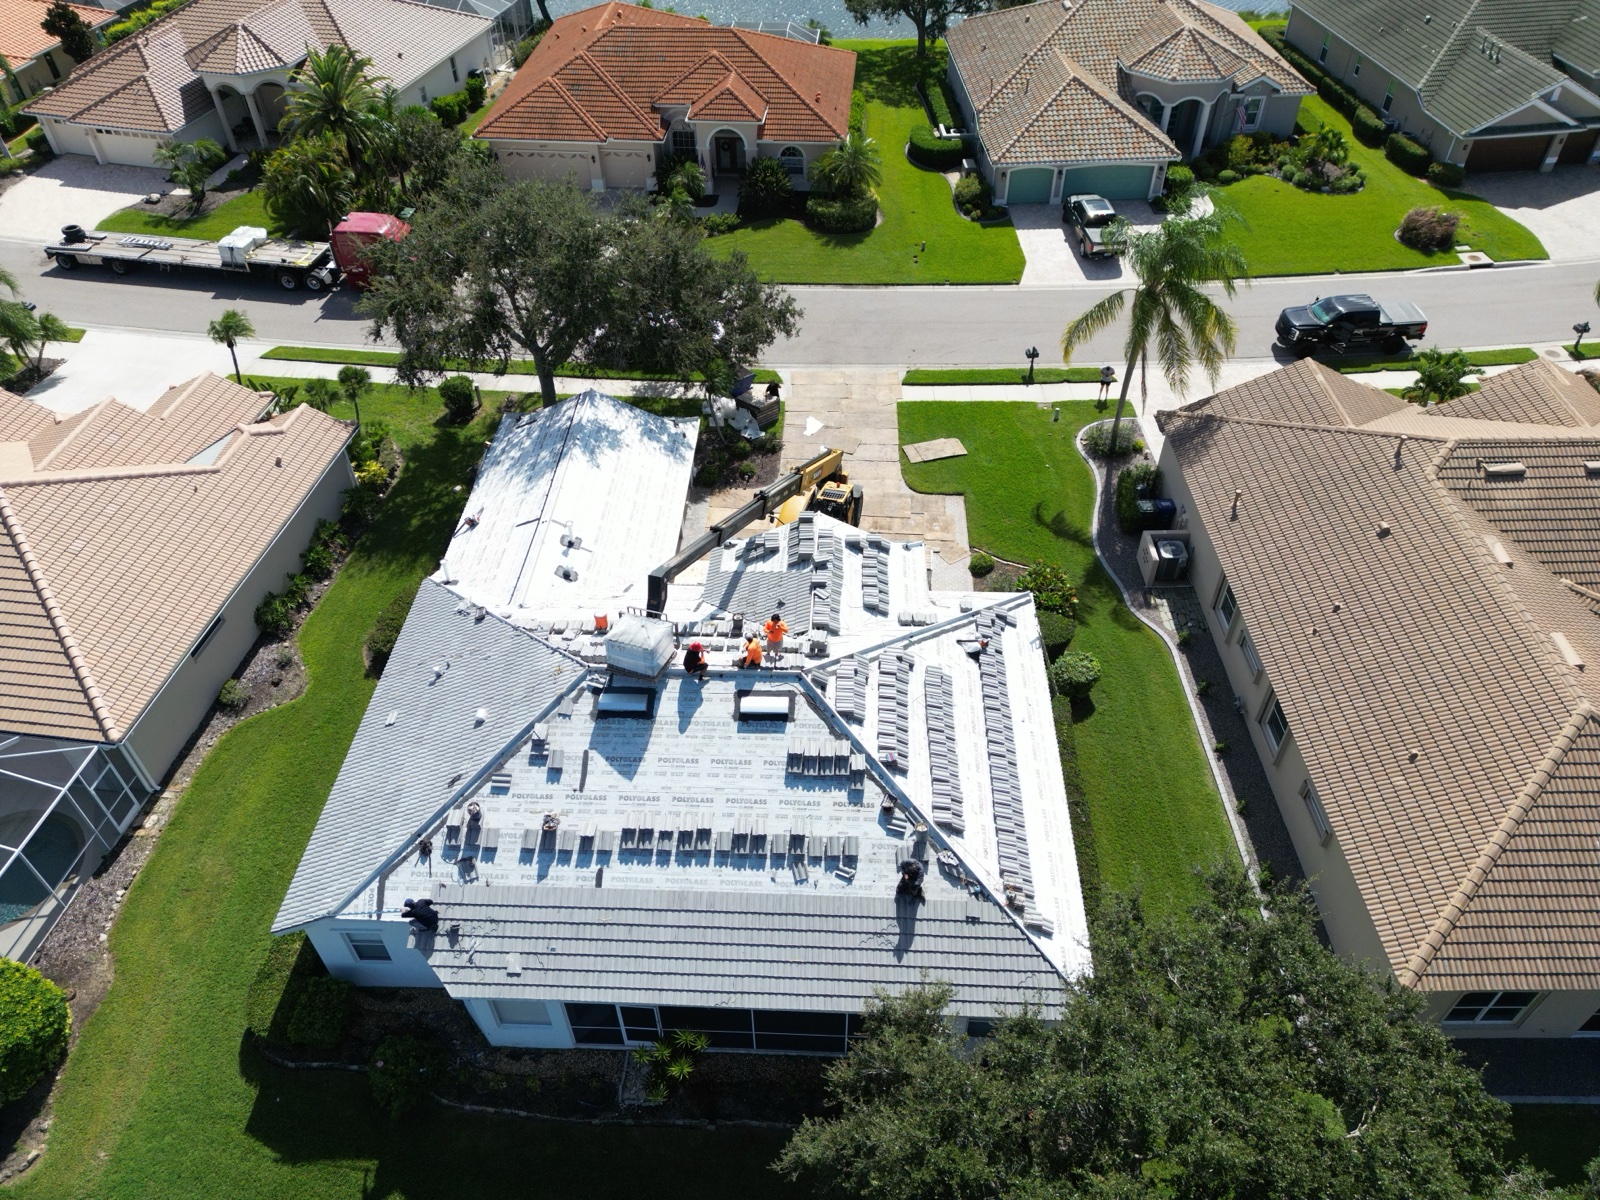
Step 5: Installation
Now the new roof goes on. For tile jobs, battens are installed first, then tiles are set row by row. For larger projects, we use cranes to move pallets of tile onto the roof — it's more efficient and safer for the crew.
Step 6: Ridge Caps, Flashing & Detail Work
The final touches make the difference between a good roof and a great one. Ridge caps are installed along the peaks, flashing seals all penetrations and transitions, and every detail is checked for proper installation.
Step 7: Final Walkthrough & Cleanup
When the roof is complete, we do a full walkthrough with the homeowner, clean up the property, run a magnet sweep for any stray nails, and make sure you're 100% satisfied.

How Long Does It Take?
Most residential roof replacements take 1–3 weeks, depending on the size of the home, material type, and weather. Tile roofs generally take longer than metal or shingle due to the additional prep work involved.
Ready to Get Started?
If your roof is aging, leaking, or just not performing the way it should, we're here to help. Get a free estimate or call us directly at (941) 350-7501.
Need a Roofing Expert?
Get a free estimate for your roofing project today.